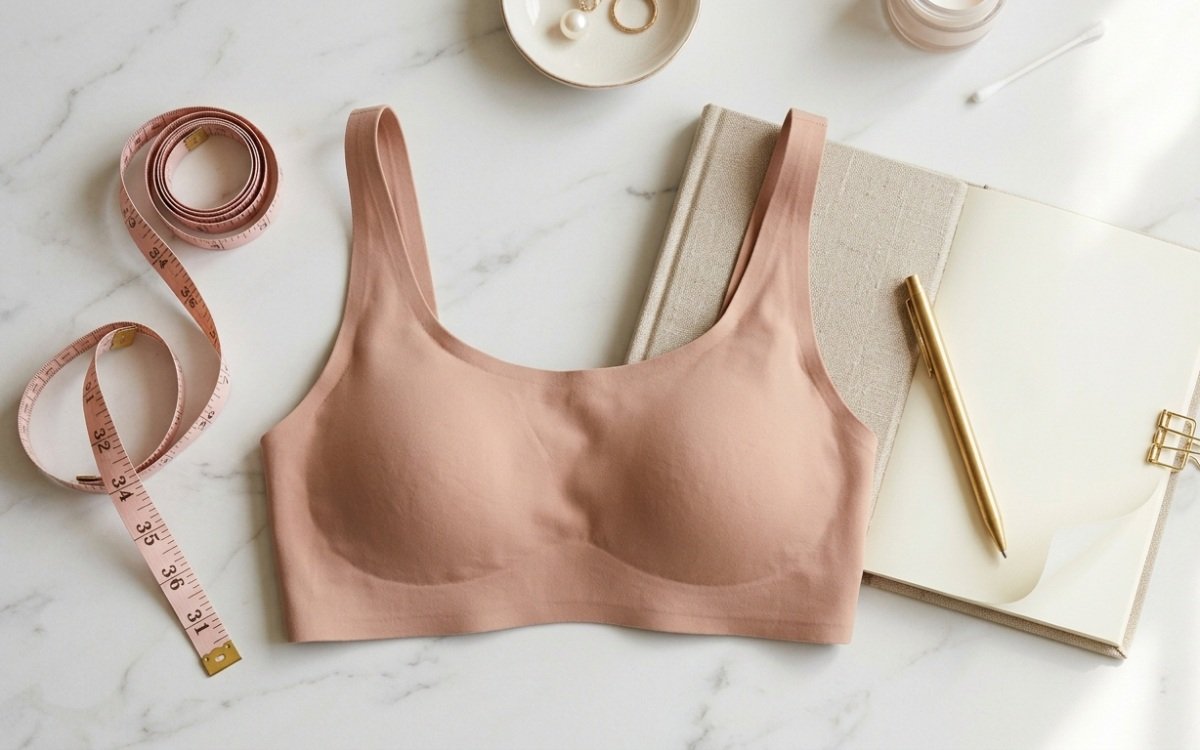
Wearing the wrong bra size isn’t merely an annoyance — it often leads to back strain, neck tightness, shoulder gouging, and compromised posture. At NABOKOVA LIFESTYLE, we believe true elegance begins with an immaculate fit.
The 2 Simple Measurements You Need
All you need is a flexible measuring tape and an unpadded, non-push-up bra that fits you relatively well.
Step 1: Measuring Your Band Size (Underbust)
Wrap the measuring tape snugly around your ribcage directly beneath your bustline where your bra band rests. Keep the tape parallel to the floor and exhale fully. If the number is an odd number (e.g., 31 inches), round up to the next even number (32).
Step 2: Measuring Your Bust Size (Overbust)
Measure loosely around the fullest part of your chest (across the nipples). Ensure the tape stays level across your shoulder blades in back. Do not pull the tape tight; let it rest gently against your skin.
Step 3: Calculating Your Cup Size
Subtract your band measurement from your bust measurement. The difference in inches gives your cup letter:
- 1 inch difference: A Cup
- 2 inches difference: B Cup
- 3 inches difference: C Cup
- 4 inches difference: D Cup
- 5 inches difference: DD / E Cup
"When your bra fits impeccably, 85% of support comes directly from the underband, not the shoulder straps."
3 Telltale Signs Your Bra Doesn’t Fit
- The Back Band Rides Up: If the back band creeps toward your shoulder blades, your band is too loose. Choose a smaller band size.
- Center Gore Floats: The bridge between your cups should lie flat against your breastbone. If it lifts away, you need a larger cup size.
- Spillover or Gaping: If your tissue overflows over the top or under the arms (quad-boob), size up in the cup. If the fabric ripples or gaps, size down.